If you’ve been reading here long enough, you know I’m a non-sewing decor blogger. I’d love for that to change, but I’m not in a big hurry to break out the sewing machine and learn.
So when I got a load of this from Laura over at Top This Top That…
Source: topthistopthat.blogspot.com via Heidi on Pinterest
and this from KariAnne at Thistlewood Farm…
Source: thistlewoodfarm.wordpress.com via Thistlewood on Pinterest
I knew I wanted to recreate the project in a No Sew version for my Cupcakes and Coffee event at the preschool.
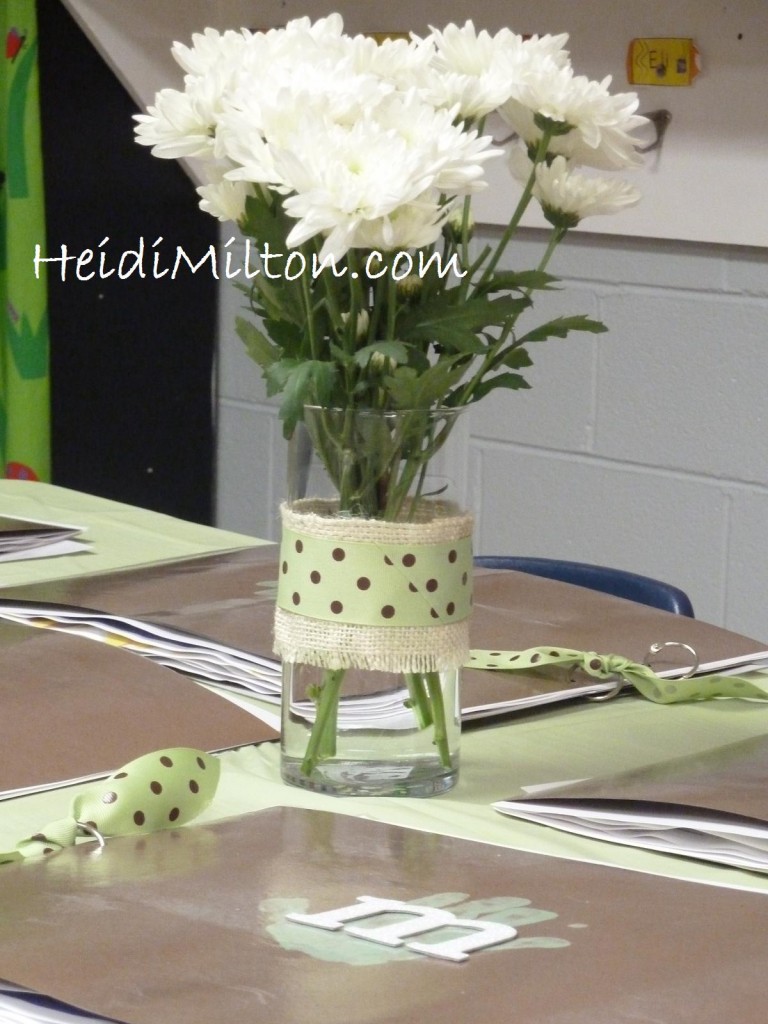
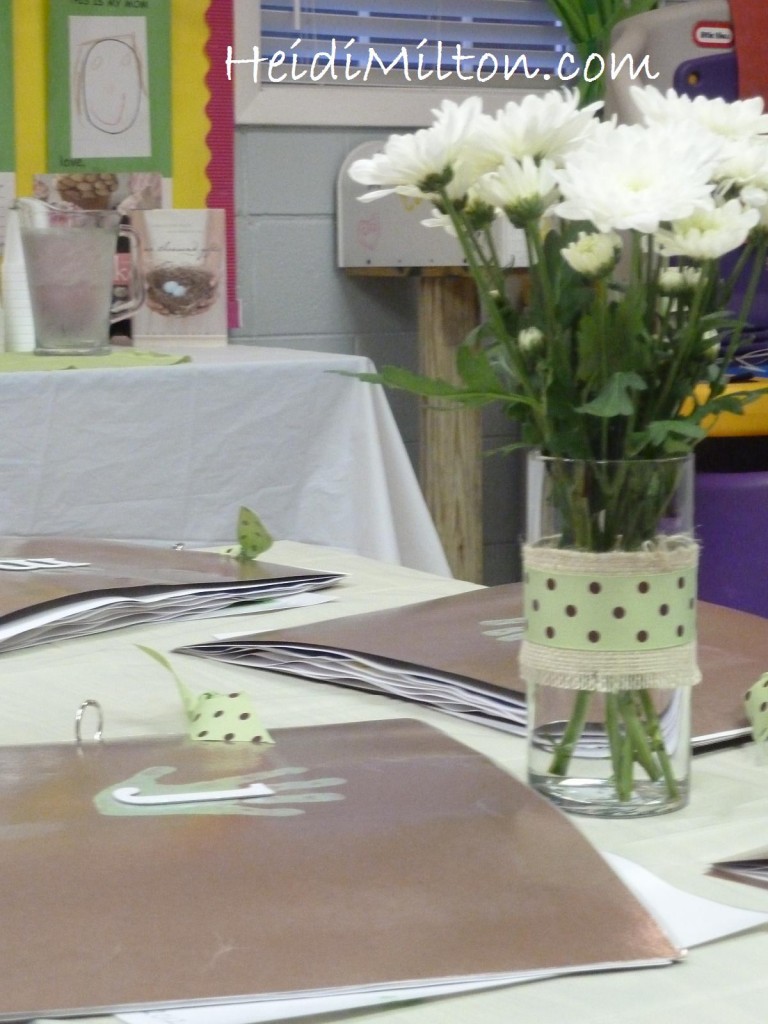
I think they turned out pretty well?
And anything this simple will be crafted again around here, either as a party decoration, decorative accessory, or gift. 🙂
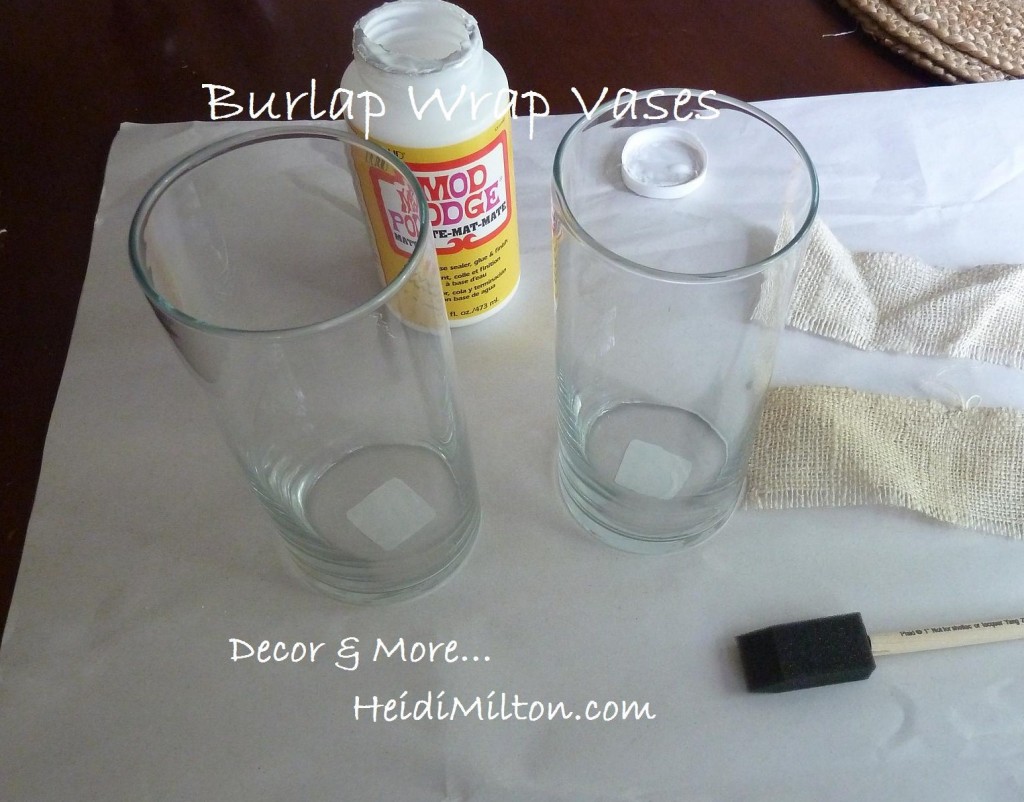
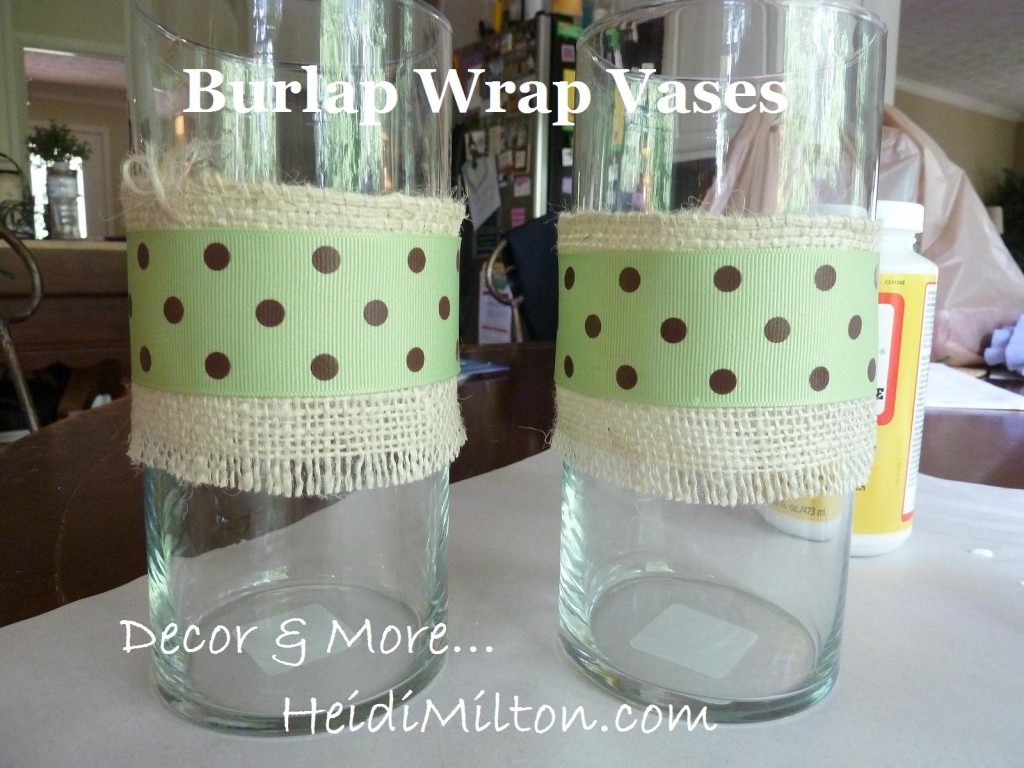
I started with these few things…
Dollar store cylindar vases, strips of leftover burlap (cut as evenly as possible), modge podge, and a decorative ribbon. In this case, I used the same ribbon I tied to the children’s scrapbooks.
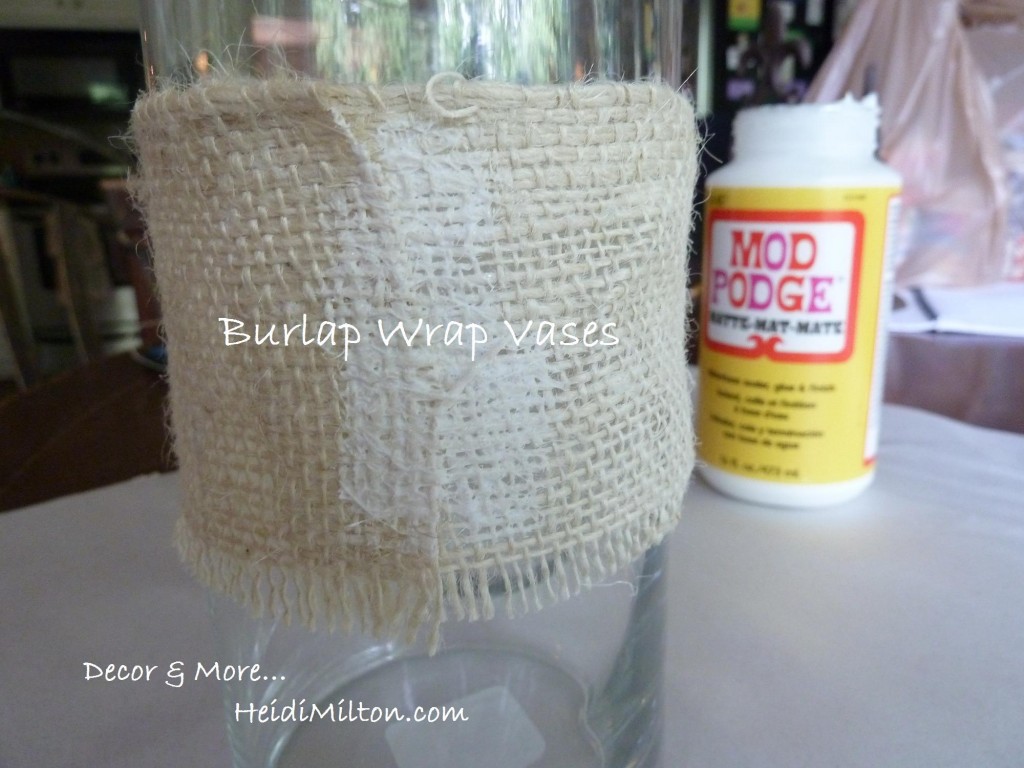
Now, easy peasy — I applied the modge podge where I wanted to mount the burlap wrap.
I just realized I’ve been typing “modge podge” and it’s really Mod Podge. HA! Shows you the state of my brain these days!
Anyway, once I pressed the burlap strip evenly around the vase, I added more Mod Podge to secure the ends, which I overlapped very slightly. I let this set for just a bit. I like working with the Mod Podge because it’s pretty forgiving… gives you time to shift and adjust if needed AND it dries clear. Sweet. 🙂
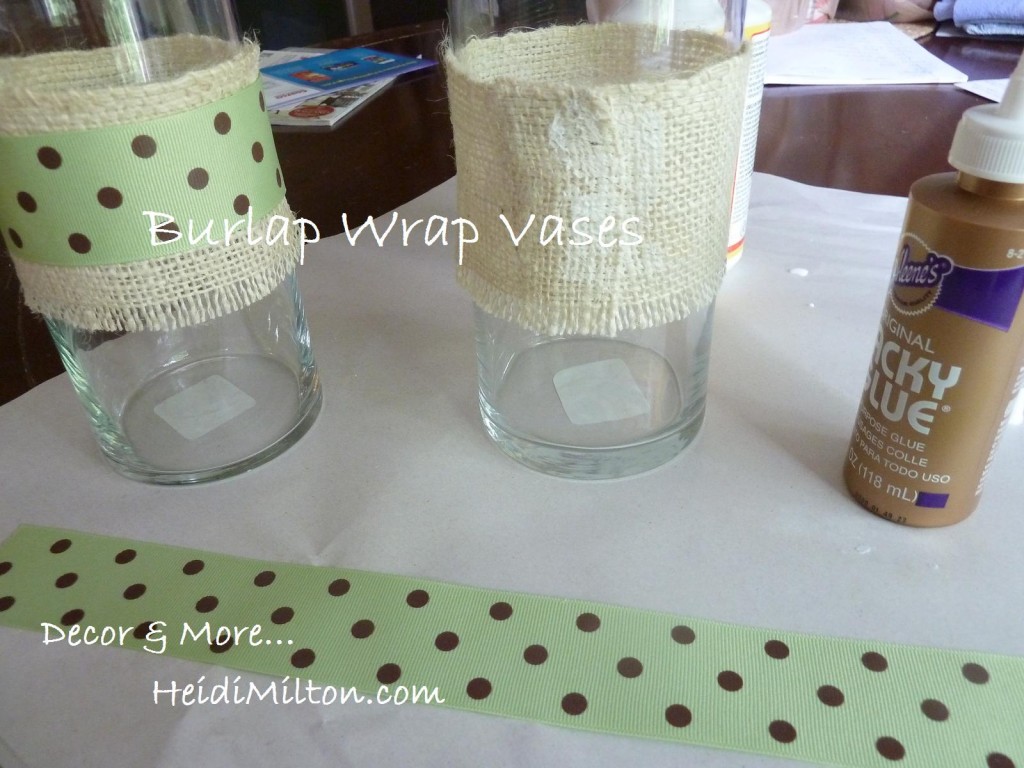
Once it was even and dry, I cut strips of my ribbon and attached them with good ‘ole Tacky Glue.
Notice that one side of my burlap strip is the bound side of the fabric… my answer to those clean edged sewn versions of my burlap idols Laura and KariAnne. I fringed the bottom side just for added texture. It’s also pretty simple to get a nice clean edge by fringing. Just make sure you have a sharp pair of scissors when you trim your fringe.
The glue only took a few minutes to dry and viola…
The moms loved them.
I loved how simple it was to customize them!
This is one of those projects that has endless possiblities… you could use trim pieces, ribbon, or even stamp or stencil the burlap. I’m seeing more of these in my near future. At least on the to-do list anyway. 🙂
Let’s hear it for the No-Sew Gals! Sharing this project…




This is so darn cute and so totally doable. I love the addition of the ribbon.Pretty!
truth be told- i would rather be a mod podge girl too! your little no sew version were so cute.
so cute, heidi! and no sew is always a plus! 🙂
Love them!! I’m a no-sew gal as well, and I don’t plan on changing that anytime soon!!
Gah!! I’ve been pinning burlap wrapped vases like crazy, but I’m not a sewer either. Thanks for sharing this!
Cute! Did the Mom’s get to take them home or did you have them for decoration only?
We need to start our own no-sew club! There’s no shame in it (is there)! I can’t even sew a button and when I got married my mom bought me The Buttoneer! It looks like a little gun that you “shoot” the button on with!
Every non sewer needs a Butoneer! Now if only they made one to create curtains, pillows, bedspreads…
Love your cute little centerpiece!
Kelly
Cute! Thanks for sharing. I have tons of boring vases and quite a bit of burlap kicking around; perhaps I’ll try this soon =)
Heidi…you are my kind of DIY’er….great project!!…the vase turned out great!
So cute! I love a good no-sew project!