My youngest son is fundraising for an upcoming pilgrimage to Spain and Portugal with his church youth group. This is my third pilgrimage in the last five years, so I’m experiencing a little fundraising burnout.
Nonetheless, when they decided to do a silent auction and wine tasting this spring to help top off their funds, I agreed to contribute something for the auction, of course. The hubs and I will be on our Caribbean junket at the time of the event, so I figure it was the least I could do.
I could have gone out seeking donations for the silent auction item I’d agreed to provide — and believe me, I thought about it! But when I really thought about it, I was convinced I could come up with something on my own. After all, I’d boldly listed “Spring Home Decor Array” as my item of choice. Not a gift certificate for private golf lessons, or signed sports memorabilia, or a weekend at a mountain cabin. Spring home decor.
And there it was. The challenge. The No Spend challenge.
So I dug around in my ridiculously large stash of crafting supplies and DIY’s waiting in the wings and here’s what I had to work with…
- rectangular wooden planter
- 24 inch wire wreath form
- craft paint
- burlap ribbon
- spring picks
- styrofoam balls
- moss
- stickers
- spray adhesive
When I think of spring decor, I think of something fresh for my front door, a cute planter to refresh the front or screen porch, and anything to bring green into the mix. With that in mind, I was off to the races.
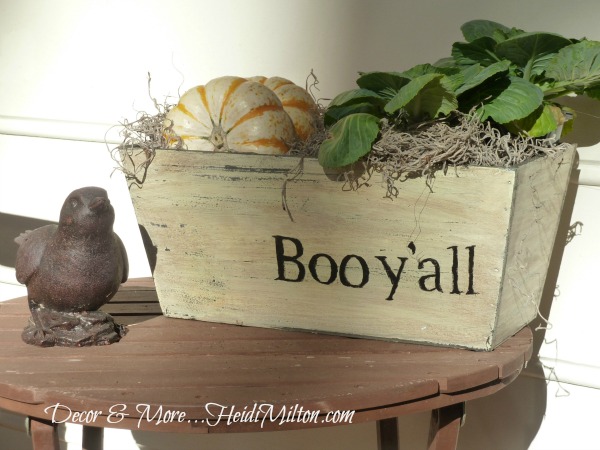
The planter was similar to the one I used for this fun fall project, just a different color.
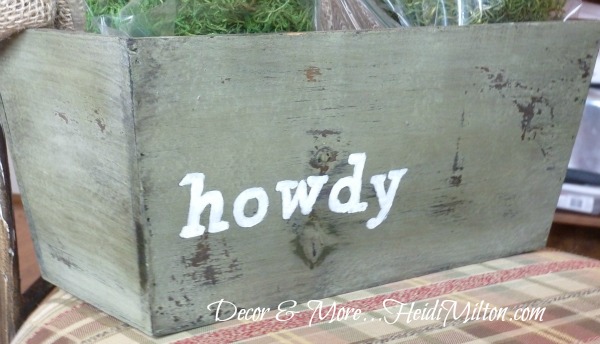
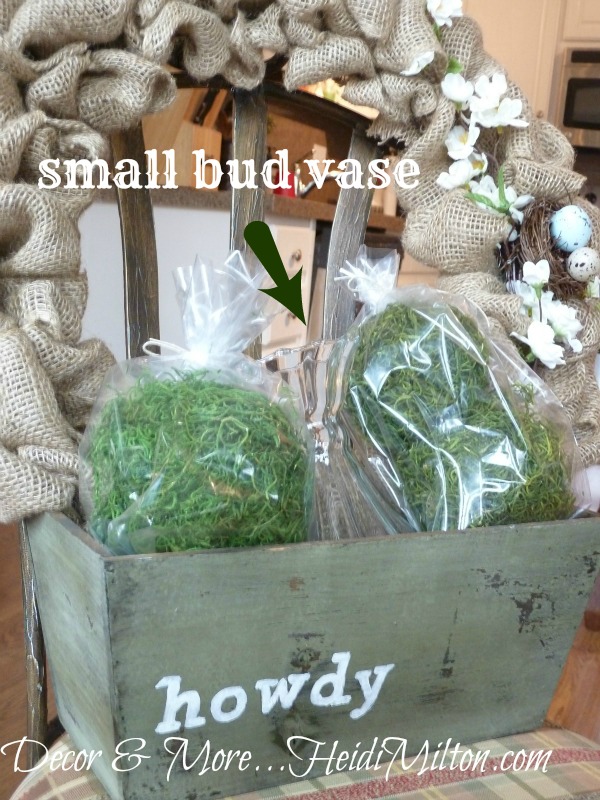
I have four planters total and the other three were just waiting to be embellished. I was envisioning one side reading “welcome” and the other side reading “howdy”. Just for fun. 🙂
I used the greenish gray planter and white craft paint … isn’t it fun?
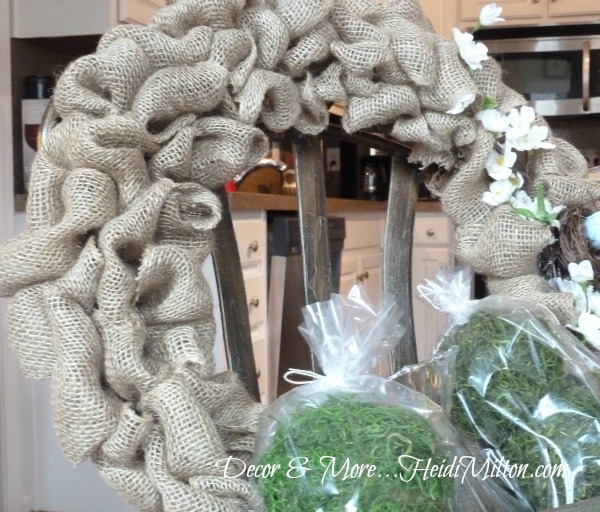
Then that wreath form was just crying for me to use Laura’s tutorial to create a burlap wreath…
Seriously, y’all, this is such a great project! Simple and the results are amazing… I find myself wanting to whip out burlap wreaths for all my friends and family now! Head over to Top This Top That for the full tutorial; the only difference is that mine is bigger and used more ribbon. You’re welcome. 🙂
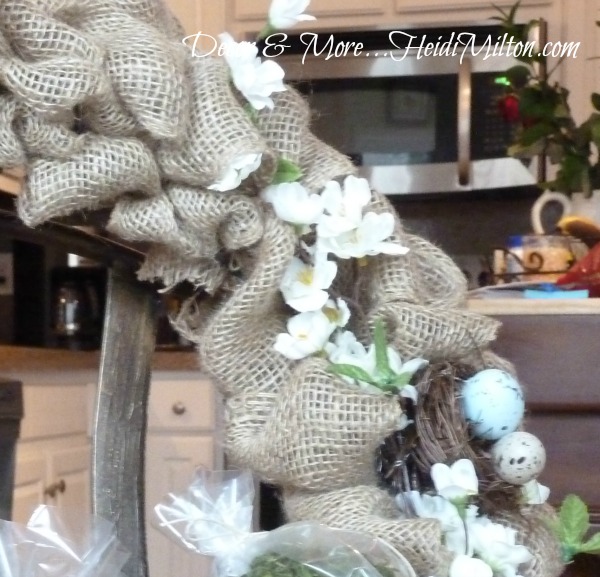
I then added two spring picks — one sprig of white cherry blossoms and a little nest with two eggs in it.
I attached these with floral wire, so they’d be easy to detach when spring is done, if the lucky winner wants to put something else on the wreath.
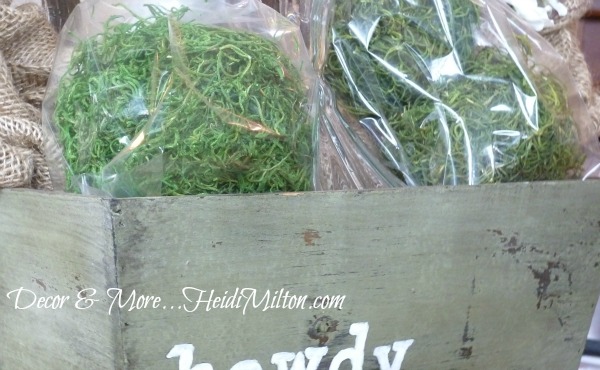
I then used my styrofoam balls and the moss to create — wait for it — moss balls.
I know. Inspiring isn’t it? 🙂 But I do love that look to bring a little green into your decor for spring, they can be used in any container, plus I wanted to make a few for myself, so what the heck?
I did one large and two medium-sized balls for the auction item, and put them in cellophane bags to help preserve them until they’re pulled out to enjoy.
One last little touch was a small glass bud vase out of my Willow House samples… it’s hard to see in this photo, but it’s a sweet little fluted number.
So there you have it — my silent auction donation that cost me no more than a few afternoons at my kitchen table.
And I can cross a few DIYs off my list, too. 🙂
Hope all these goodies go to a great home! Sorry for the lack of better photos — I was in such a DIY flurry I mostly forgot to take photos as I went. I’ll be sharing the typography method soon. THAT I did manage to photograph. 🙂
What’s got you thinking about spring?


cute!!! i love the howdy!
Now that will certainly be a hit for the silent auction…great idea Heidi…and Laura’s tutorial is the best!!! Hope yall raise lots of money for the trip!
That’s pretty darn impressive!
i love, love, love that wreath Heidi!!! ACK!!!!! ship it to me if you ever get sick of it! 🙂
I’m still pouting I’m not going with you to St. Thomas.
Bliss
Go Heidi!!! You rock, seriously. 🙂
Amazing creations!!! I’m loving your no spend freeze!! You are doing amazing!! Such an inspiration!