Good morning, friends! I actually had a fairly relaxing weekend and am ready to enjoy another busy week — how about you? I spent time with my kids and a sweet neighbor poolside, got workouts in both days, enjoyed catching up on some reading and blogs, and worked on finishing up the console table. Last night we took in two kids for the night while their parents finished up moving out of their house and into an executive apartment while they wait for their new house to be ready… it was some fun shenanigans around the dinner table!
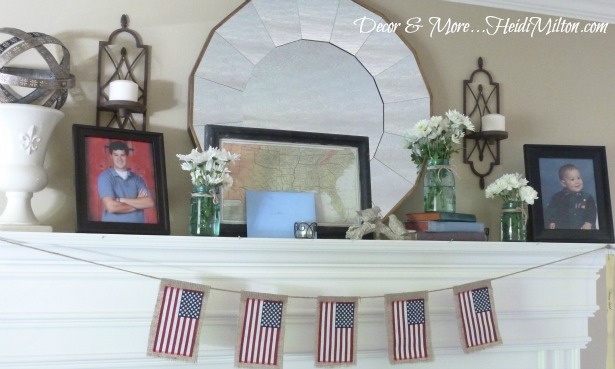
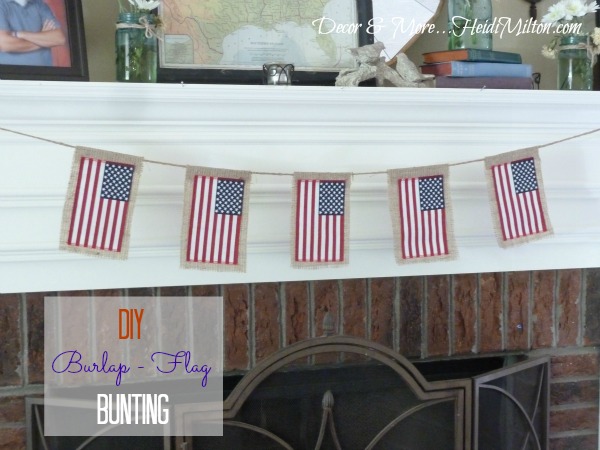
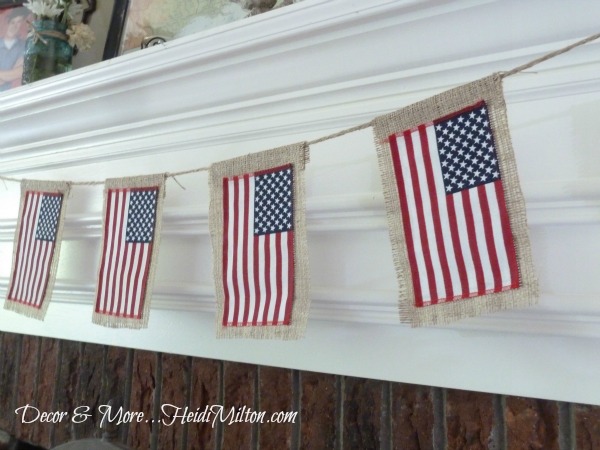
When I shared my graduation decorations a couple of weeks ago, I had a few emails about my burlap flag bunting on the fireplace.
It was a simple and quick project that we’ll enjoy throughout the summer (or at least through the Fourth of July!), so today I’m sharing the how-to for you.
Here are the supplies you need:
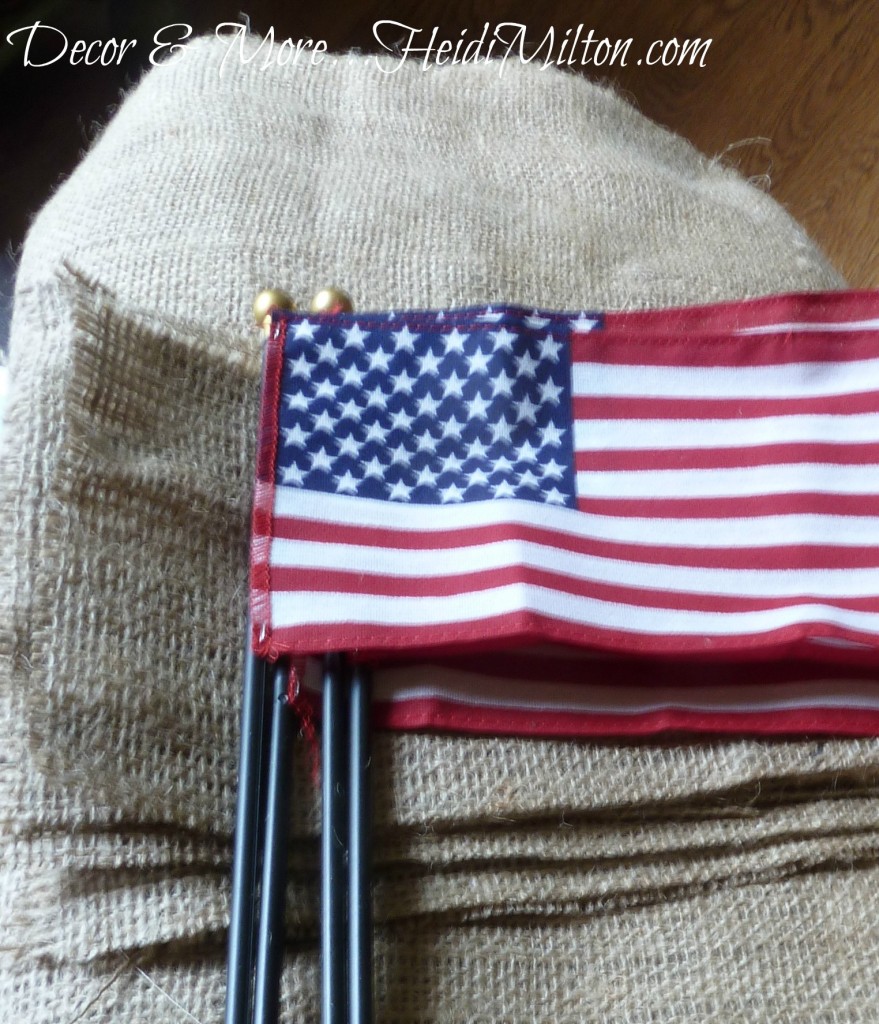
- 1 -2 packages of small fabric flags (I got mine for about $2 at WalMart)
- burlap
- Tacky Glue
- Jute or twine
Step 1: Figure out how long you want your bunting to be and how many flags you want on it (odd numbers look best).
Step 2: Cut your jute or twine to the desired length.
Step 3: Cut out burlap rectangles that are 1/2 inch to an inch wider than the flags and 2-3 inches longer than the flags. One end will be wrapped over the jute.
Step 4: Remove flags from their poles — they’re simply stapled on, so just be gentle so you don’t rip the flag.
Step 5: Iron the flags and burlap rectangles to remove wrinkles. At the same time, fold one of the ends of the burlap rectangles and press a crease where it will be wrapped around the twine.
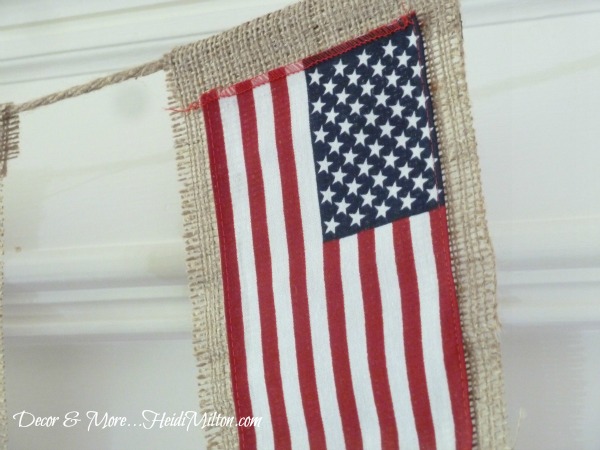
Step 6: Adhere the flags to the burlap pieces using Tacky Glue, centering the flag within the rectangle.
Step 7: Turn the flags over and place the twine up inside the ironed flap, spacing them out as desired. Secure the twine inside the crease using Tacky Glue and then glue the flap closed.
Step 8: Allow the glue to dry thoroughly and then hang your bunting!
I took the additional step of spraying the burlap edges with spray starch to minimize fraying. My bunting has been up for almost a month now and no fraying has occurred. 🙂
I love the texture and simplicity of this project, and I’m a sucker for patriotic decor. In fact, I have an entire Pinterest board dedicated to Patriotic Decor — check it out!
Today I’ll be working on this little ‘ole blog, getting some things organized, updated, and simplified for you (and me!). And today the hubs and I are celebrating 7 years since we Took The Plunge and blended our families into this crazy bunch that we love and are so incredibly proud of!
Today we’re stronger, happier, and more in love than ever. Here’s to second chances…
Enjoy the day!
Sharing here:
and at Jaime’s Inspiration Gallery 🙂
and Kim’s Fun in the Sun Fling


Is that you in the plunge? Cuz I thought at first that woman was in a compromising position!
I love the cute little flag buntings. I think I will have to make some of these for my 4th of July mantle. Thanks for sharing the tutorial and Happy Anniversary to you and your husband!! I hope you have many more years of love and happiness together 🙂
The bunting is so creative and perfect for summer! Congratulations on 7 years!
I love the banner Heidi..and congrats on 7 years of bliss!!!
Adorable! You had me at burlap! haha! Pinned it too 😉
Cute cute cute! Come link up to centerpiece Wed. And share this post on my blog http://thestylesisters.blogspot.com/2013/06/dr-suess-party-and-centerpiece-wednesday.html
Karin
Hi there Heidi! CONGRATS on 7 Sensational Years!!! Here’s to 100 more! Love the bunting…see there is a reason why I don’t put numbers on my features any more…that way I can go and add which is exactly what I did on today’s post…just added this great bunting to I can share it with my readers!
Wishing you and yours the best day ever and sending tons of love and hugs!!!
Hi, I’m featuring this awesome project (originally seen on Pinterest) today on my (little) blog with a link back to you – thanks for sharing~ Mary
SO CUTE, Heidi! Seriously easy peasy but perfect for the 4th of July. I am so making this and pinning it now! : )
Hi, Heidi, my copy-cat of your flag bunting is up at: http://redo101.blogspot.com/2013/06/july-4th-flag-banner.html
Thanks so much for the great idea!!! ~ Mary