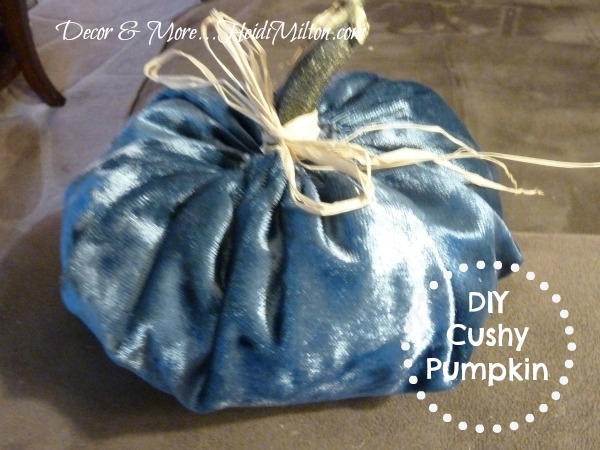
I’ve already confessed I’m ready to decorate for Christmas. But I’m restraining myself! While I’ve got some Christmas crafts a-rockin’, I have one more fall project to share with you– my DIY cushy pumpkin.
This is a fun and super simple project… and isn’t it cute? I’ve whipped out a few of these while watching a football game, so it’s not particularly time-consuming, once you’ve assembled what you need:
- fabric (I use lightweight upholstery remnants for best results).
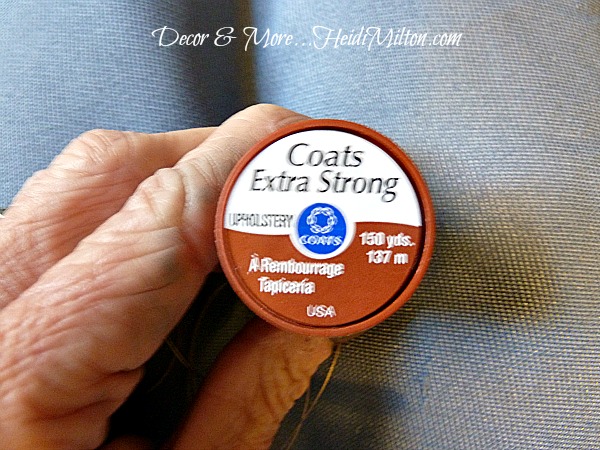
- upholstery thread
- needle (I know, right?)
- poly-fil (or any filler)
- pumpkin stem (real ones — I shamelessly dive into the pumpkin boxes at WalMart and prowl through pumpkin patches looking for the stems that have broken off. I also recruit friends and neighbors to help.)
- raffia
Ready for the steps?
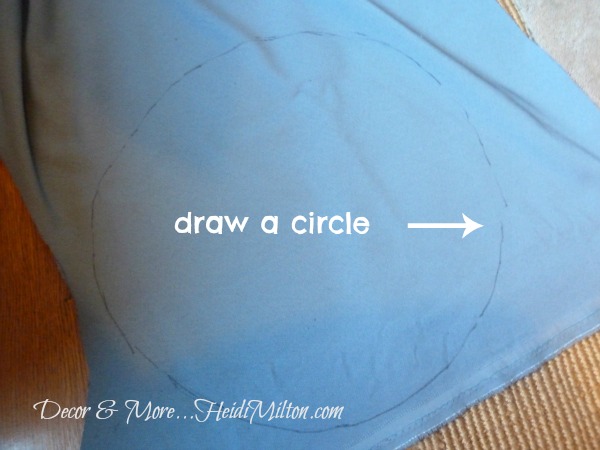
Mark a circle on the back of your fabric. I use a sharpie on a string. Seriously. But any circle template will do. This one is approximately 15 inches across.
Cut the circle out and then thread your needle with your upholstery thread. Here’s what I use.
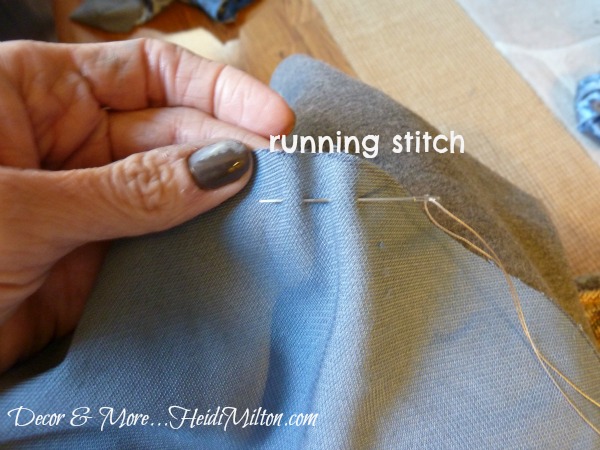
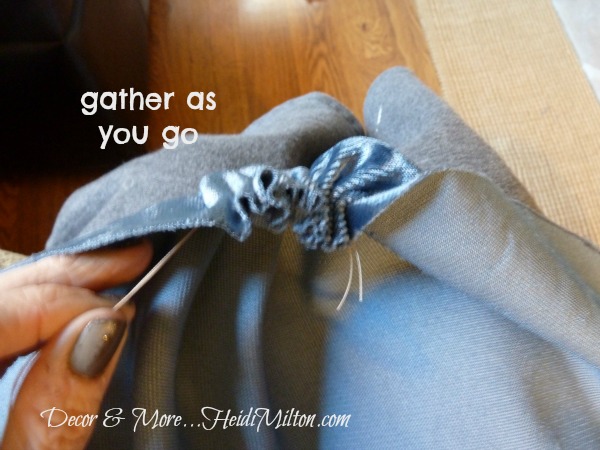
Start a running stitch around the edge of the fabric circle, about 3/4 inch from the edge.
Gather the fabric as you go.
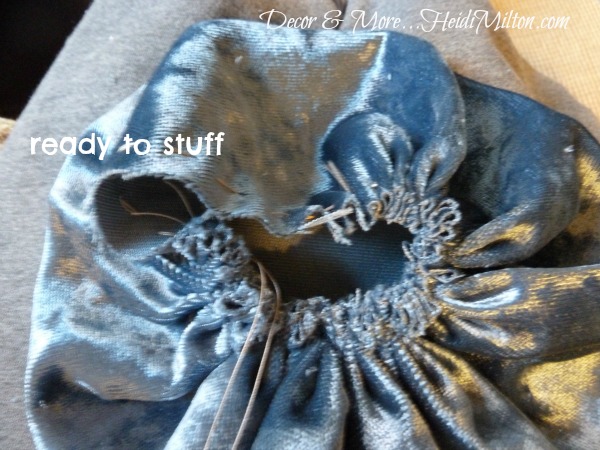
Leave the last bit ungathered, so you have an opening big enough to stuff the pumpkin.
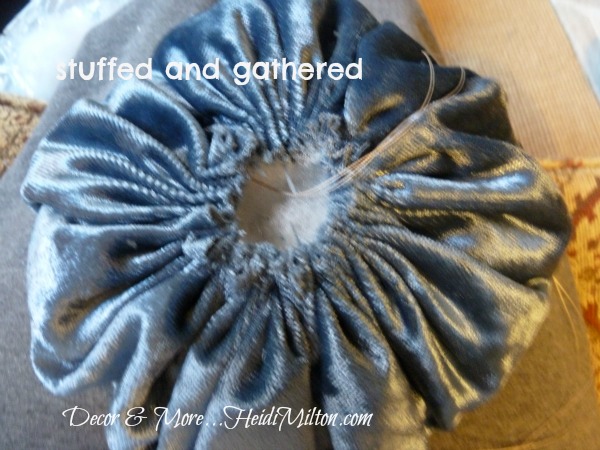
Once you’ve stuffed it to the desired fullness, go ahead and gather that last little bit and knot your thread. Don’t cut it off yet, though!
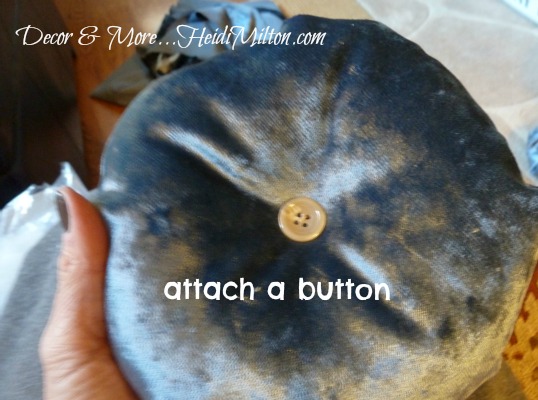
With the same thread, add a button to the bottom. This lets you pull it tight enough to create a little tuft.
Put a bead of hot glue around the base of your pumpkin stem and tuck it into the opening on top of the pumpkin, pressing the fabric edge around it.
Loop a little raffia around the base of the stem, and viola!
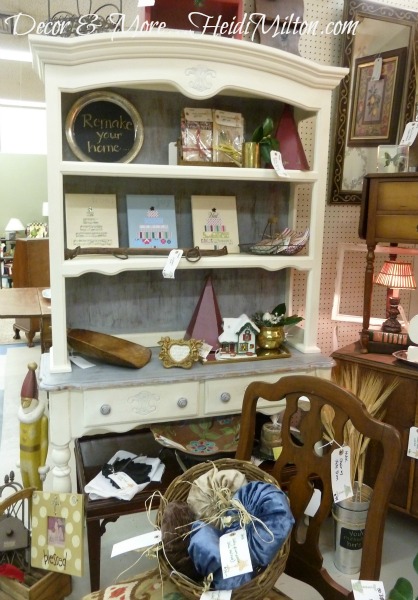
I have several of these for sale in my booth space, and they make great little hostess gifts, too!
There you have it!
Have you finished all your fall projects? Or started on your Christmas ones? 🙂
Gotta share…




So cute Heidi! I love the button detail on the bottom. I am still struggling on getting motivated after the move. I didn’t decorate at all for fall. Hopefully, I will get inspired to start on Christmas decorations after Thanksgiving :).
this is one project that I will add to the list for next year. they are so cute and I love that you can use any fabric to coordinate with your decor.
i love the pretty color you used!
They are super cute and look so cozy! Definitely a great hostess gift 🙂
Such a cute pumpkin – love the sheen!
I’m trying to psych myself up to get my Christmas bins out!
Kelly
I am fearful for next week. After Thanksgiving there will be Christmas bins everywhere as I see how I can repurpose my old tired decorations. I blame blogging. Can you make a cute velvet Christmas tree for me to copy?
Bliss
Looks so soft and cushy. Great gift idea!
i love the pretty color you used is so cute I love your blog . You have a new follower from Chile
Fantastic DIY items. You did a great job. Amazing makeover.