I’ve been up to my elbows in the beast of a paint job that is my Mom Cave all weekend. For a while there, I thought I’d bitten off more than I can chew — all the picture moldings, chair rail, plus the dark purple paint… it’s been quite the project! But, man, is it looking good!! Can’t wait to show you soon…
In the meantime, I thought I’d share my easy tutorial on the burlap runner from my Fall tablescape.
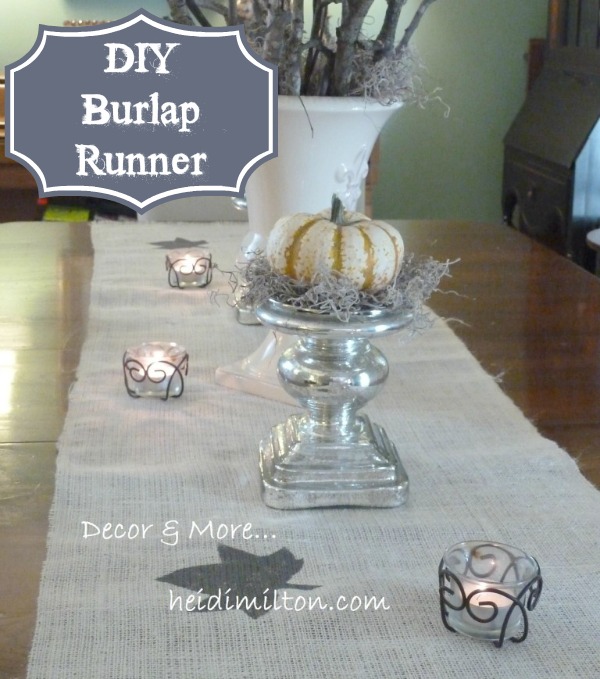
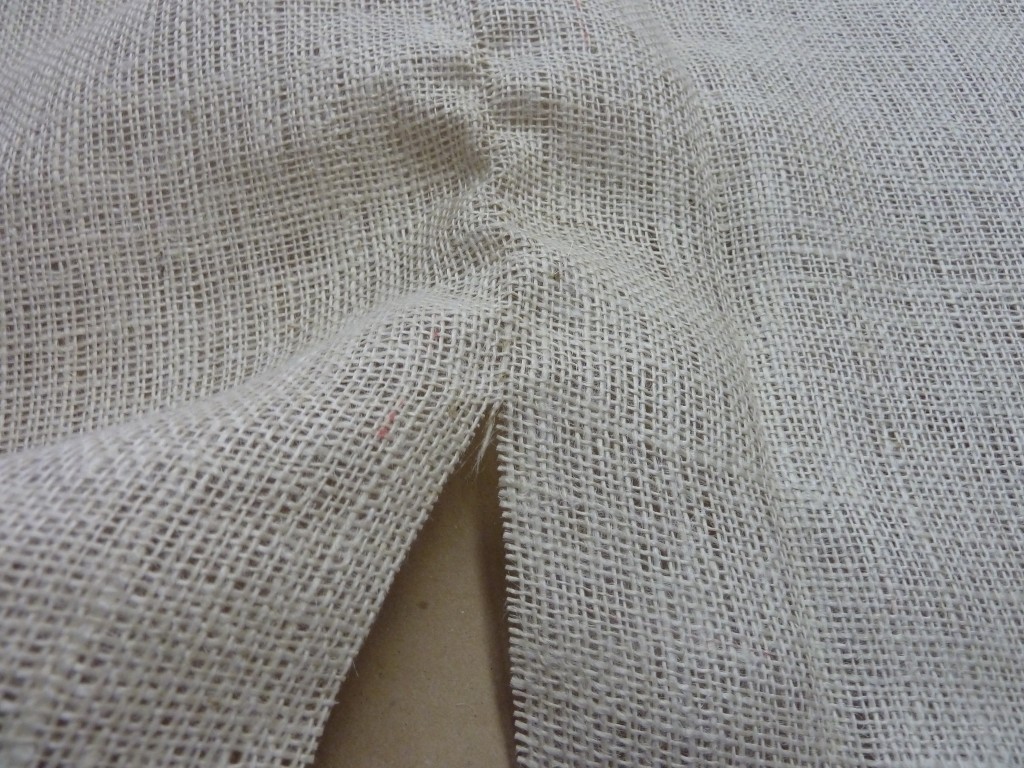
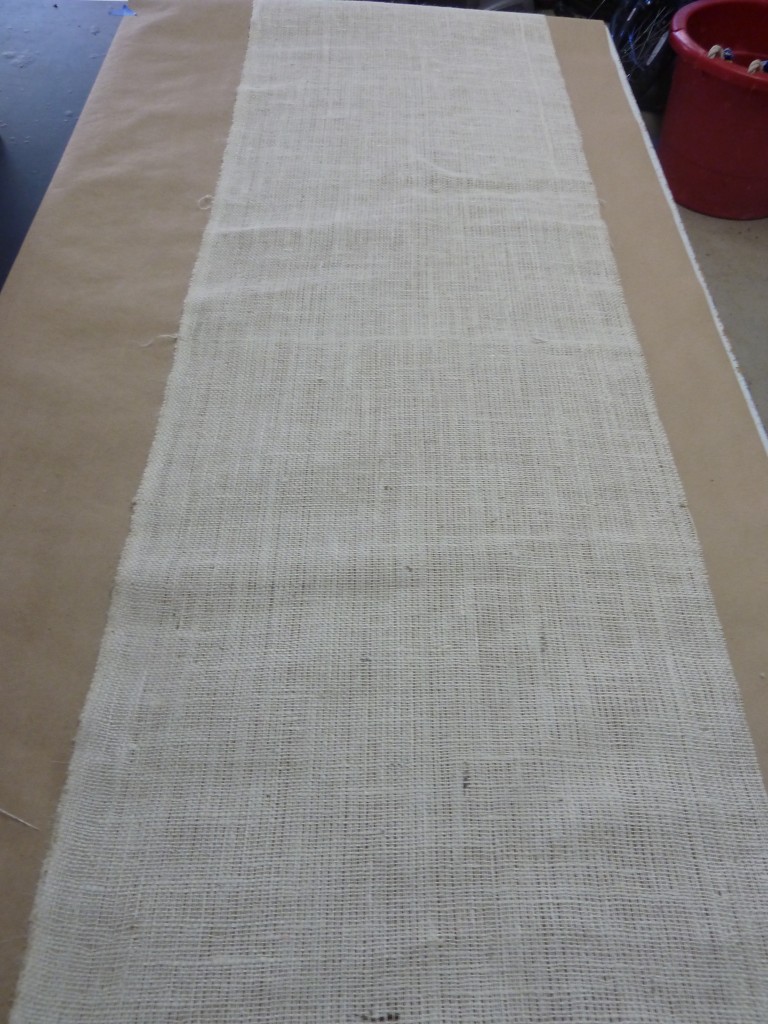
I picked up a yard of burlap with a 40% off coupon to Hancock fabrics and laid it out on my ping pong table workspace. I watched the gal at Hancock’s cut mine and since I needed to cut my piece roughly in half and I am loathe to measure if I can avoid it, I adopted her technique. She cut a slit about an inch long, then grabbed one of the threads and pulled it, so it marked a clean edge in the burlap. You can see here how it’s puckered as I pulled that one thread out. Who knew?
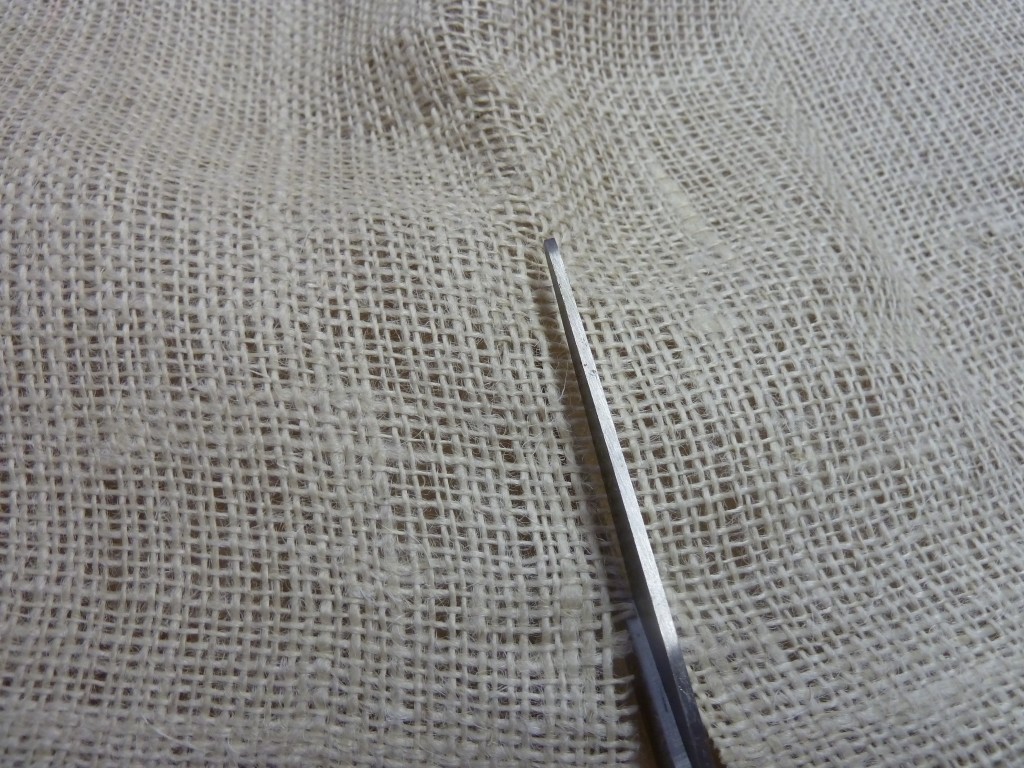
My thread broke off a time or two, but I just kept pulling it until I’d gone the entire length of the fabric.
Then you just cut along where the missing thread is. Love a simple technique.
Now, you know I am a no-sew girl {for the most part}. For this project I wanted the ends of the runner to be fringed, but not the edges. One edge was already secured {not sure what that’s called in sewer’s lingo, but you get my drift}, so how to keep the other edge from fraying too much?
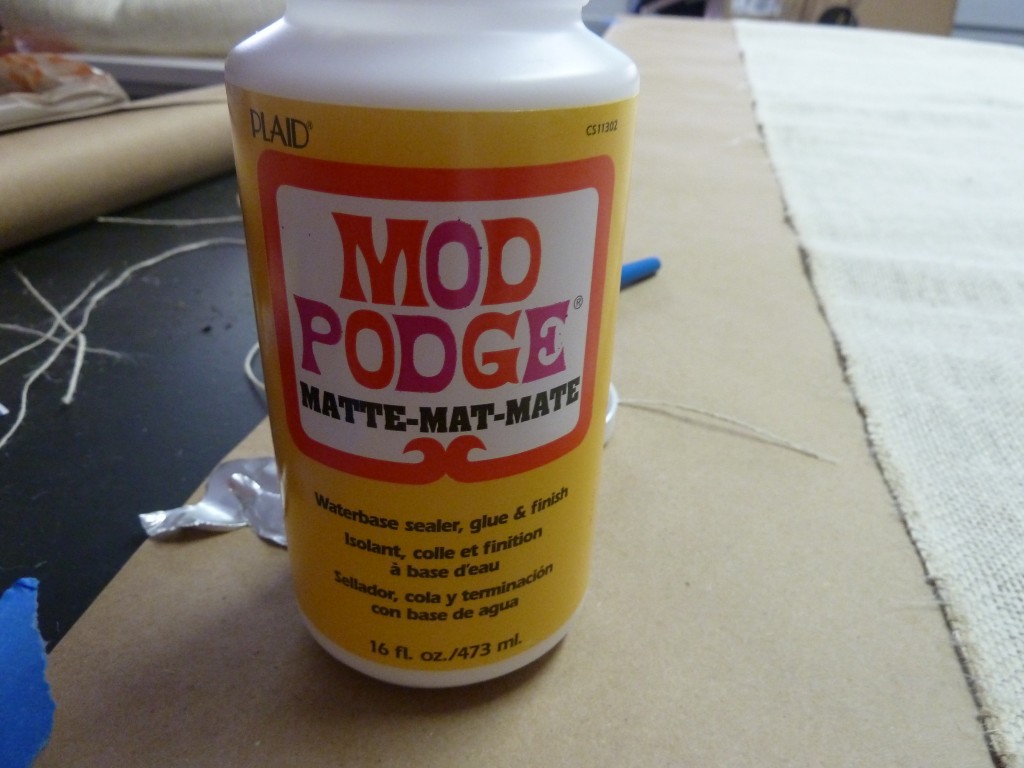
Enter the crafter’s best friend…
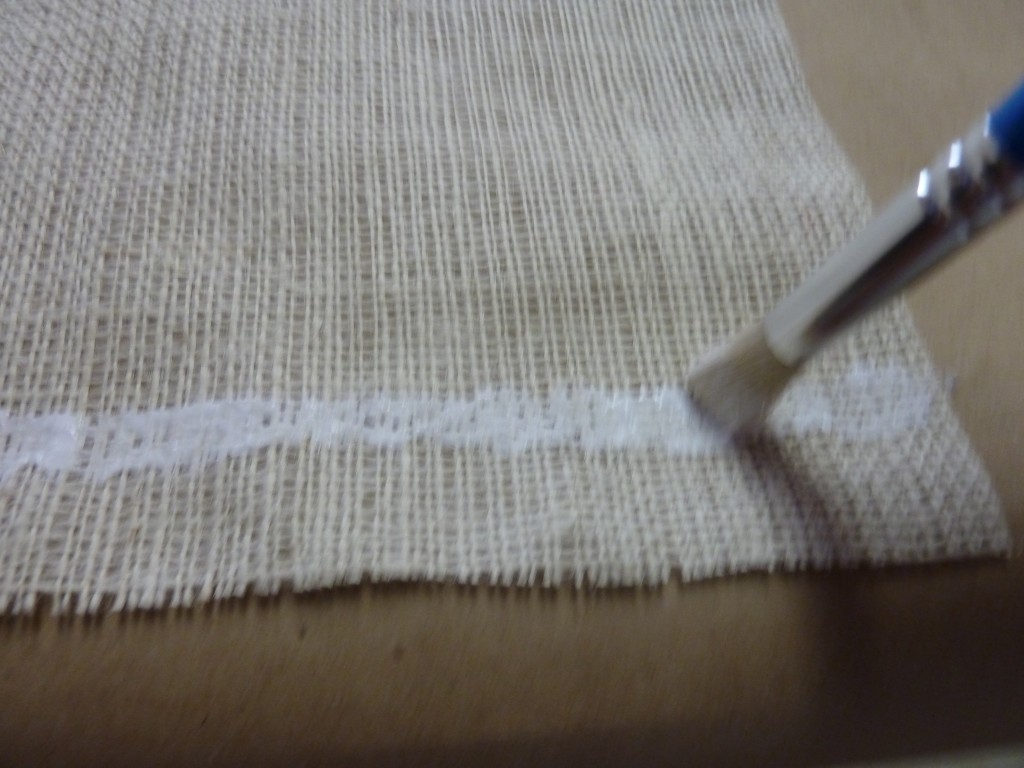
I eyeballed the ends of my runner and decided I wanted a little more than an inch of fringe on each end. So I applied the modge podge where I wanted the fringe to stop.
Sorry for the blurry pic! Then I applied the modge podge along the cut edge of the burlap. When it dried, the edge was pretty secure — no loose threads threatening to jump ship.
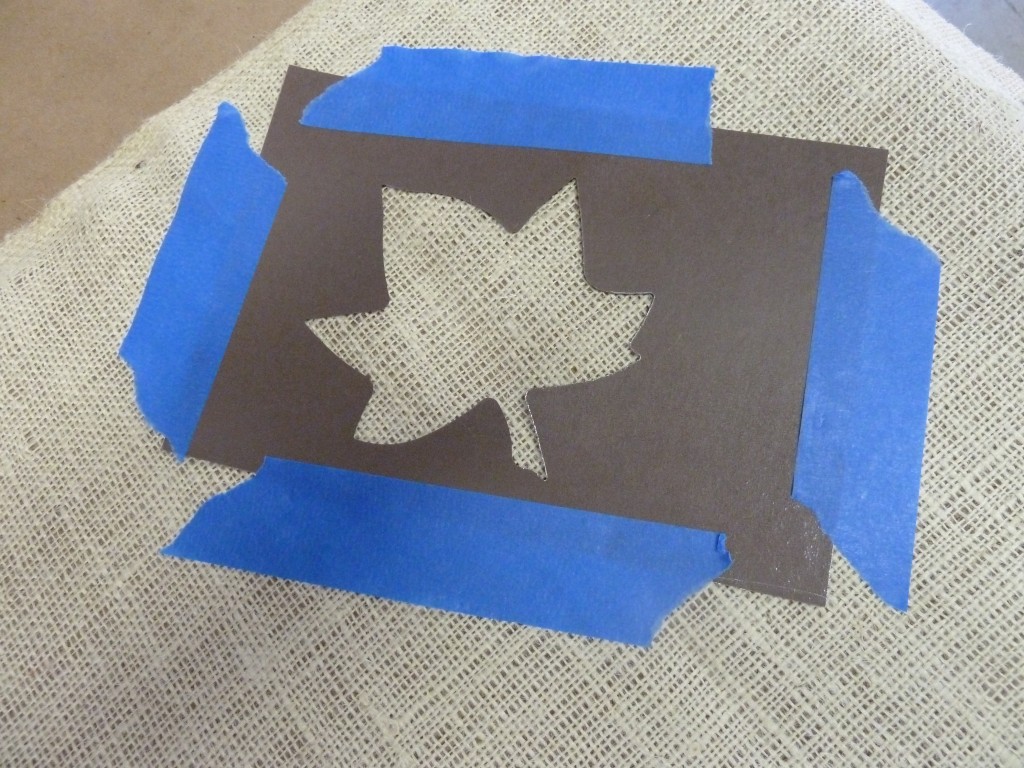
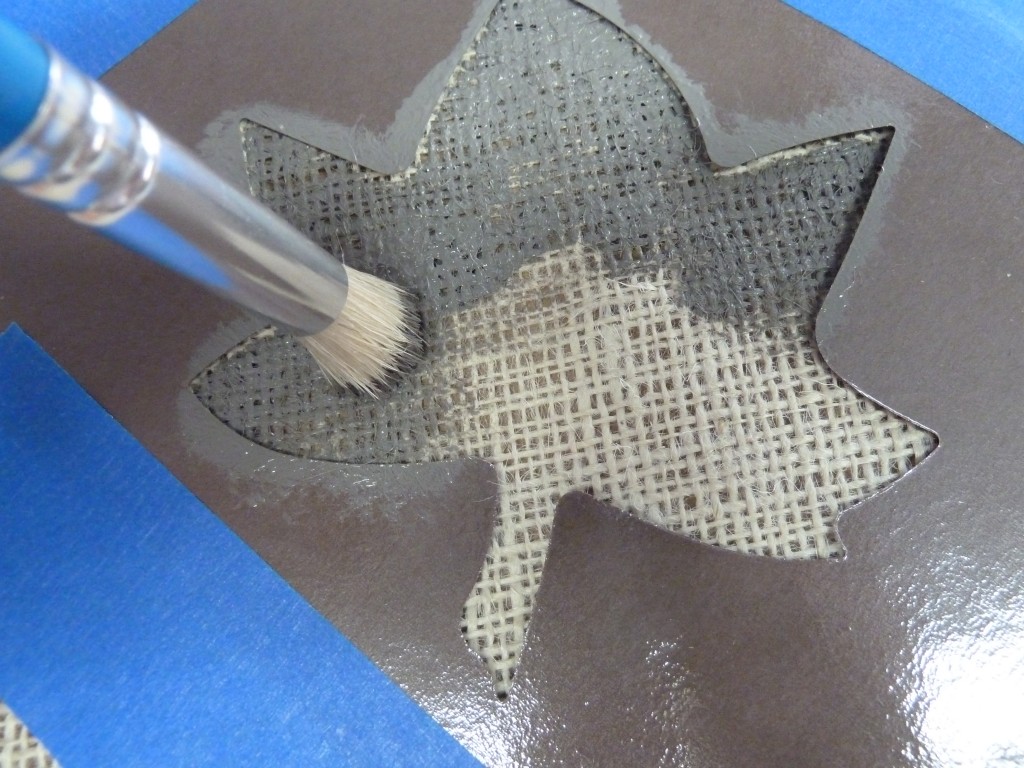
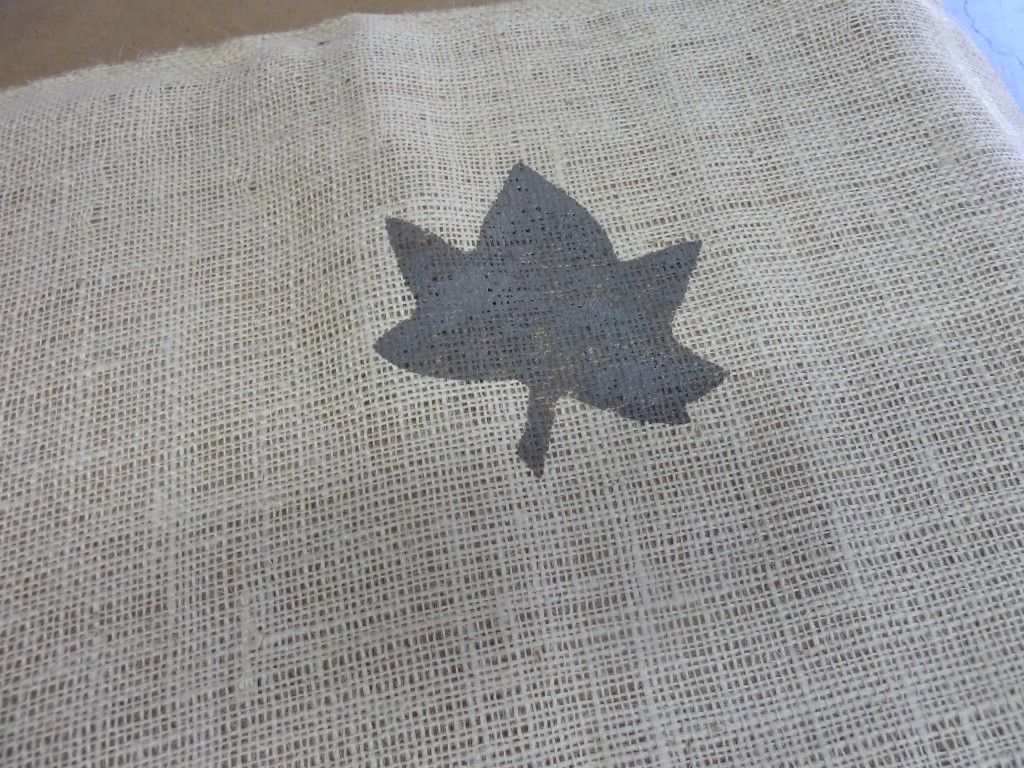
While I waited for the modge podge to dry, I added a couple of maple leafs with my fancy laminated stencil from the preschool and some gray crafters paint. I secured the “stencil” with painters tape so it would be easy to peel up and move.
I chose gray paint because I am keeping my palette very neutral this fall. Plus this could transition into winter, I’m thinking, but who knows what colors I’ll be into by January. 🙂
I went kinda heavy on the paint in some places, a little easier in others. I just like a little variation and the texture of the burlap made that super easy to achieve.
I only did four on the entire runner– again: keeping it simple and neutral.
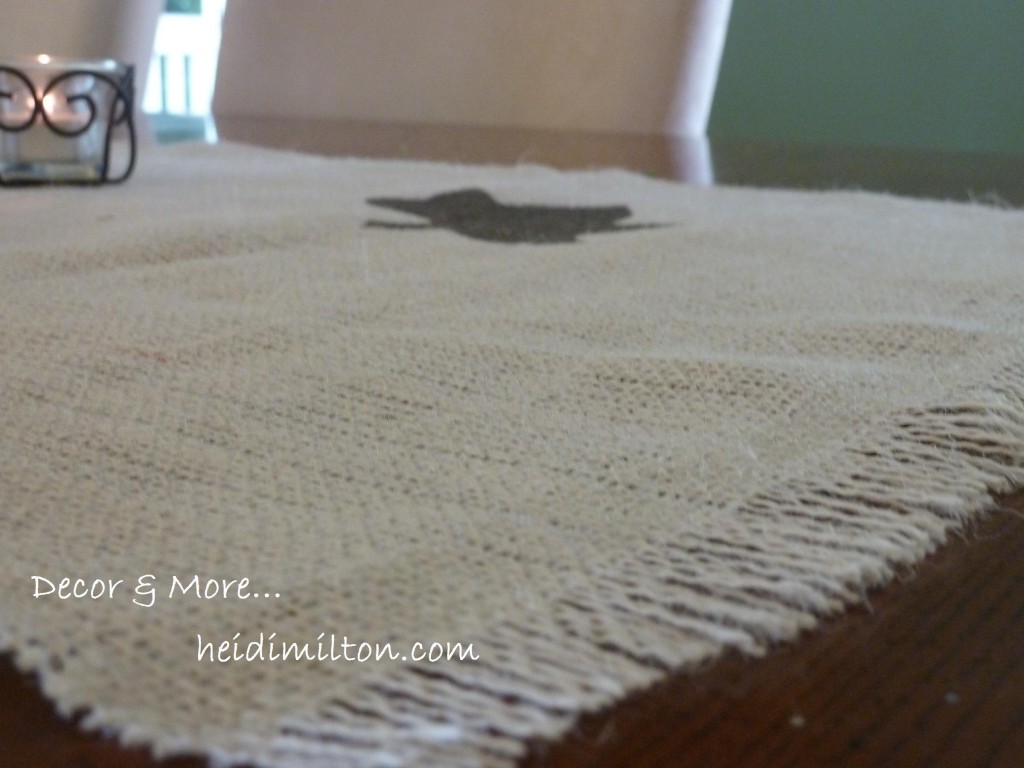
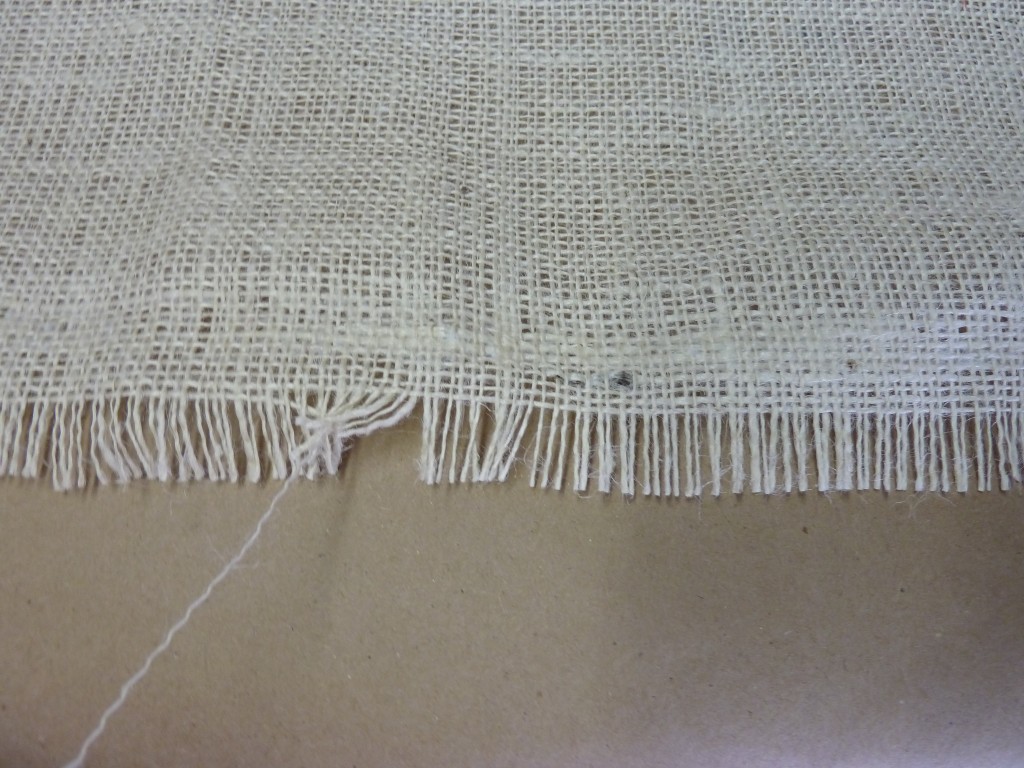
And you can see how complicated it was to fringe the ends. 🙂 I just pulled threads out until I reached my modge podge secured boundary.
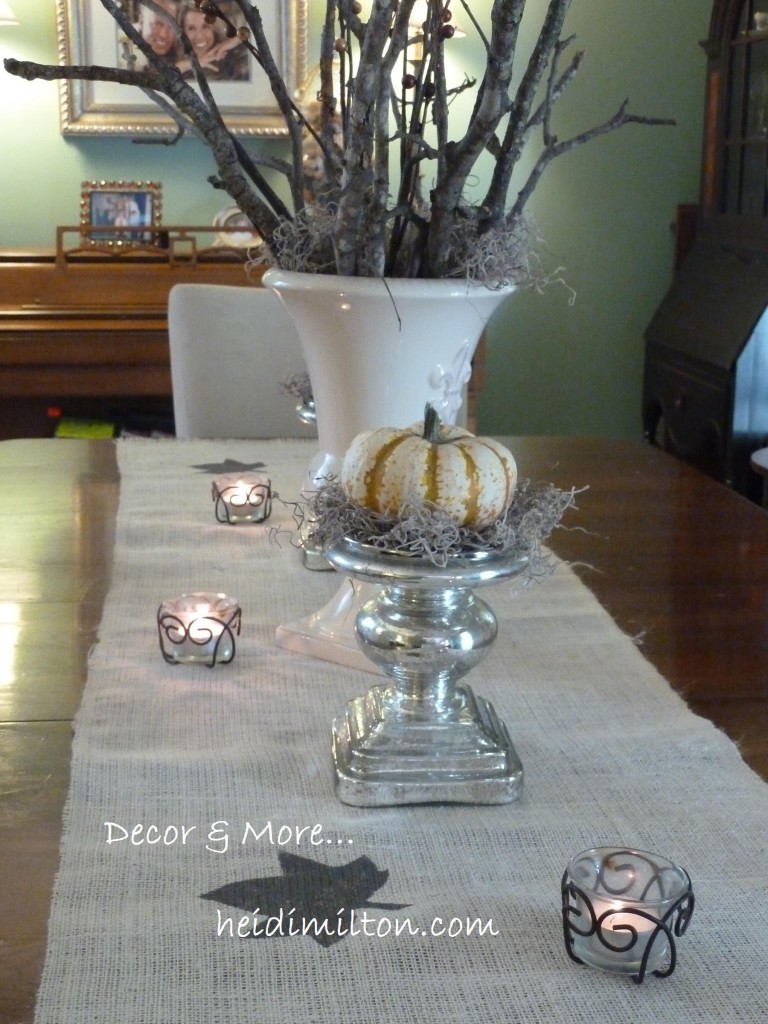
See how purty she is?
We will be enjoying her through Thanksgiving (never mind that she’s already been shoved aside so we can all work at the dining room table while the Mom Cave is in upheaval– she’ll be restored soon enough.).
And I’ve got some plans for that leftover burlap, too!
Coming up: a sneak peek at the Mom Cave transformation, a thrifty treasure, and my front porch decked out for fall… oh, and a Willow House giveaway to celebrate our new home here at Decor & More! Tell your friends!
Linking Up!


Ten June blog’s Fall Decor Party
Happy Decorating!




Ok first of all… LOVE the new site! It’s really gorgeous, Heidi! : ) Second of all, love the burlap runner. So easy but chic. And third of all, can’t WAIT to see this mom cave! Lots of fun things going on over here : ) xo
Thanks, Michelle! Can’t wait to be DONE with the Mom Cave ~ it’s taken on a life of its own!!
What a great tip about pulling the fiber to mark a cut line! I’ve been a burlap fiend lately and will probably continue painting stuff thru Christmas. You just made my life a whole lot easier – thanks!
So glad, Colleen! Thanks for stopping by!
This is just GREAT Heidi! I’m designing a new website too, and you’ve inspired me. Yeah!
Thanks for sharing this project! It looks great….might have to do it for my Thanksgiving table.
What a great project and it looks easy enough for me to handle! Modge Podge seems to be used for a lot of things lately. Have a great day!
-Shelley
love the new site Heidi! The runner turned out great. I did not know about ModPodge:O! I have always been a Tacky Glue girl, but will definitely check this out. Funny story about Tacky Glue…. I would use it around the house and Dan would roll his eyes always wanting to use some manly wood glue. After years of seeing how well it works on all sorts of things he now asks “where’s that glue you use?” 🙂 Men!
I miss Hancock Fabrics:( I loved that place.
happy week!
joan
Heidi, this is beautiful! And I love how simple it is too.
i LOVE this… i saw some burlap at our JoAnn’s last week and hoping they still have it in their holiday section because i am going to buy some finally…. will be making this for our new table {when craig builds it} and a few other projects!!! thanks for the awesome post.
This looks so great! I never knew about that Mod Podge tip. Genius! Love the new look and I’m following. 🙂
Thanks, Viv! Welcome!
I observed your blog using google and I must say, this is most likely one of the greatest nicely ready articles I have come across in a long time. I’ve bookmarked your site for more posts.
My site is about Family vacation ideas.