I’m not gonna lie… ever since I read Emily’s tutorial on watercolor letters, I knew I wanted to give this a go! I’ve got thoughts of a new gallery wall over the sofa in my family room (and probably one in my foyer, too!) and thought this would be a fun addition.
Plus, I just was itching to paint. #whatsnowdaysdotome
Since I wasn’t sure how this would turn out, I took only a few pics, but I’ll try to explain my process as best I can. 🙂
The first thing I did was think about the colors I wanted to use so this wouldn’t seem so haphazard. I landed on blues and greens since those are the accent colors in my otherwise brown family room (unless you count the red tulips on my mantel right now!).
Then I literally got on my computer and printed out an upper case M in every font that appealed to me. 🙂
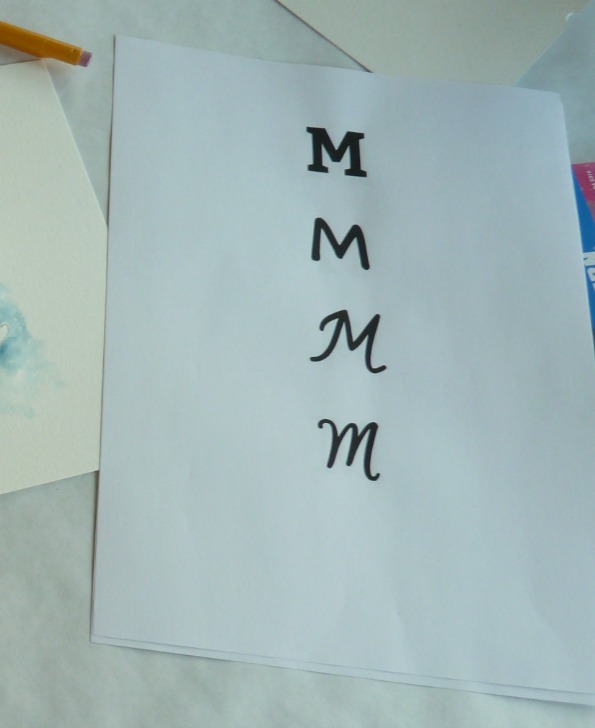
I chose #3 on this sheet (sorry I’ll update this with the actual name of the font if you’re interested!) because I didn’t want one that looked too structured. I’m a huge fan of the handwritten look with all of its imperfections.
The next step was to sketch the letter on a piece of watercolor paper. This is where a pencil with an eraser is critical! It took me a couple of tries but I got a pretty good approximation of it and then just expanded the image in pencil, making it thicker but keeping to the proportions I wanted.
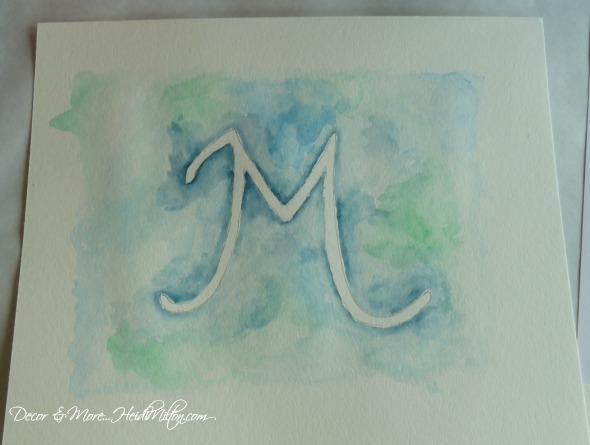
Now comes the fun part! I just got started outlining the letter in my darkest blue color, feathering it out as I went.
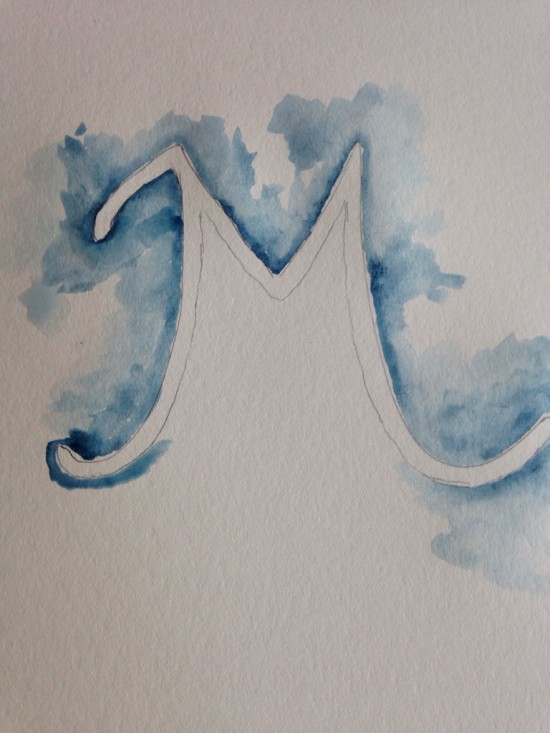
As you know with watercolor, less is more and there are a few spots where I feel like I let the color get too saturated. Keeping the paper surrounding the outline of the letter wet helps tremendously (I’ve done another similar one since and that was key). Here’s a shot of it with just the blue.
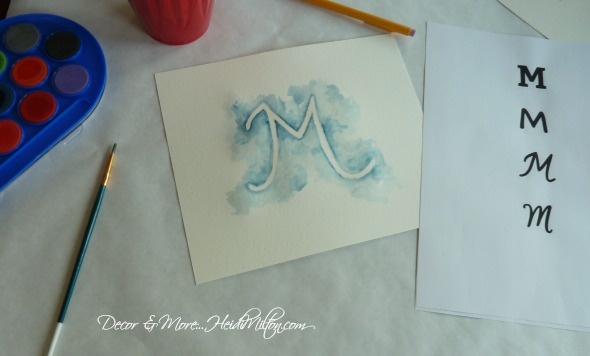
After I had spread the blue out and let it dry a bit, I wet the outlying areas of the images and then went back and added a bit of green and a little lighter blue.
You can still see the pencil lines in the image above. I just kept them as my guide throughout the painting process. Let it dry thoroughly after you’ve added the desired colors. Then go back and erase your pencil lines. The watercolor paper is pretty hardy, so erase away!
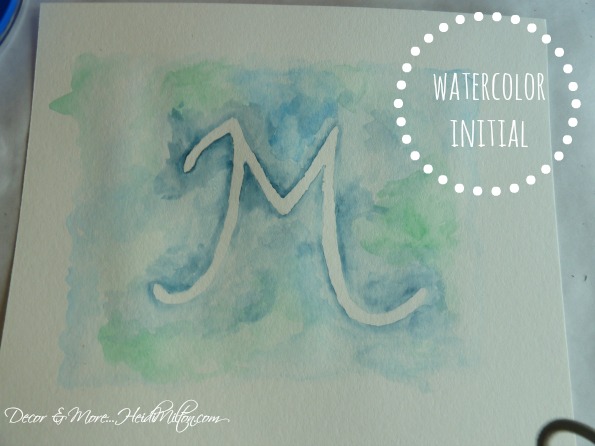
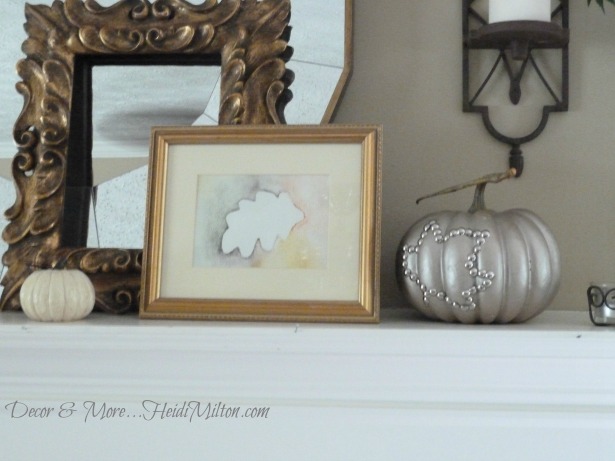
I pretty pleased with how it turned out! And I dabbled in a similar project for my Mom Cave that I’ll share soon… easy peasy!
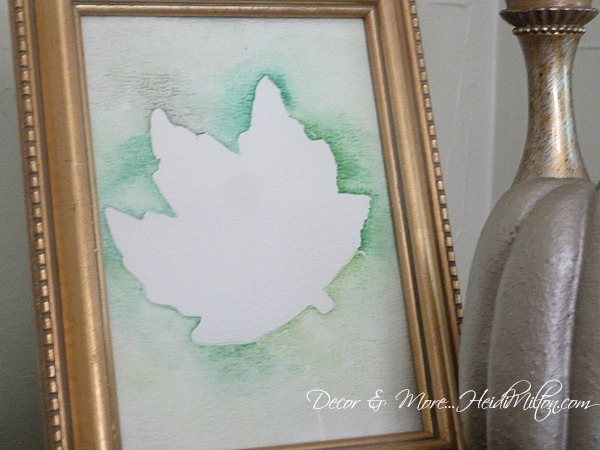
Don’t forget to check out Emily’s in depth tutorial… she touches on different fonts and so forth and has much more watercolor expertise than I. I also used her tutorial to create the watercolor leaves last fall…
Easy and fun!
I’m slowly piecing together that gallery wall, so stay tuned! And we’ve thawed out enough here for me to tackle of couple of spraypainting project with big implications! Love progress, don’t you?
When was the last time you painted in watercolors?
Earlier this week, I popped into Mohawk Homescapes blog to talk about healthy breakfast options… my quest for better eating this year continues! I’d love it if you’d weigh in over there on your favorite “go to” breakfast. Enjoy the day!


Hi there my friend! How are you! I just LOVE this artistic creation! Two of my favorite things…watercolor and initials! : ) What a great DIY…perfect for home…great for gifts and how about some note cards…that would rock too! Applause to your inner Van Gogh! hugs…
love watercolors and your initial.hope you are having a great week.
LOVE it! this is a great idea for nursery art, which i will need soon! not for me though- don’t get your hopes up.
You know how I feel about my watercolors! Love this!!
So very pretty Heidi!…
I am in love with watercolors right now! I even bought some paint and I am going to have to have to pin this so I can try it later 🙂
xo,
Debbie