Howdy hoo! Still working on my re-entry from our trip… :-P. Man, this has been a looooong week, but a happy good one. Yesterday, I celebrated my birthday with 14 Little People, my fabulous fellow teachers, and my family. If you ever want to feel like a total ROCK STAR, celebrate your birthday with preschoolers. 🙂
March is also my blog’s 3rd birthday! I can’t believe it’s been so long, but it’s been an amazing fulfilling journey with more good stuff in store. I’m so thankful for all my readers and bloggy friends and the opportunity to share my thoughts, projects, and “more” here with you. Thank you for being along for the ride! I think a giveaway is in order, so tune in on Monday for that fun. Can’t wait!
Today, I’m sharing one of my February DIY’s that I’m soooo pleased with!
I’ve seen these in the Ballard’s catalog for a pretty penny and knew it would be a pretty simple DIY. I was right. 🙂
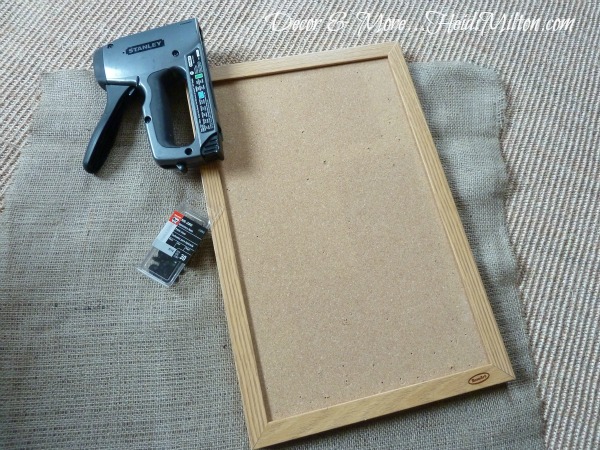
Here’s all you need:
- framed corkboard (I found mine at the thrift store for a buck!)
- dark upholstery tacks (WalMart)
- burlap
- muslin or other fabric for the backing
- staple gun
- hot glue gun or tacky glue
And here’s all you do:
1. Cut your burlap fabric about 6 inches wider and longer than your corkboard and iron it to release any wrinkles.
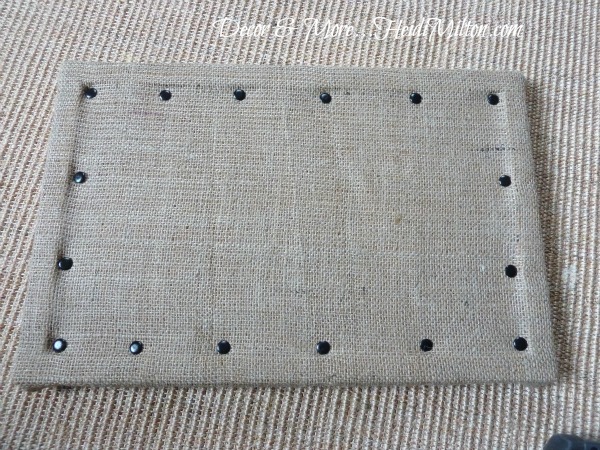
2. Lay the burlap on top of the corkboard and use the upholstery tacks to tack it around the edge of the corkboard, spacing them as evenly as you can.
3. Turn it over and pull the edges of the burlap over the back of the frame and staple it to the frame. I staple all four corners down first and then begin working my way around. This makes sure the burlap is stretched evenly.
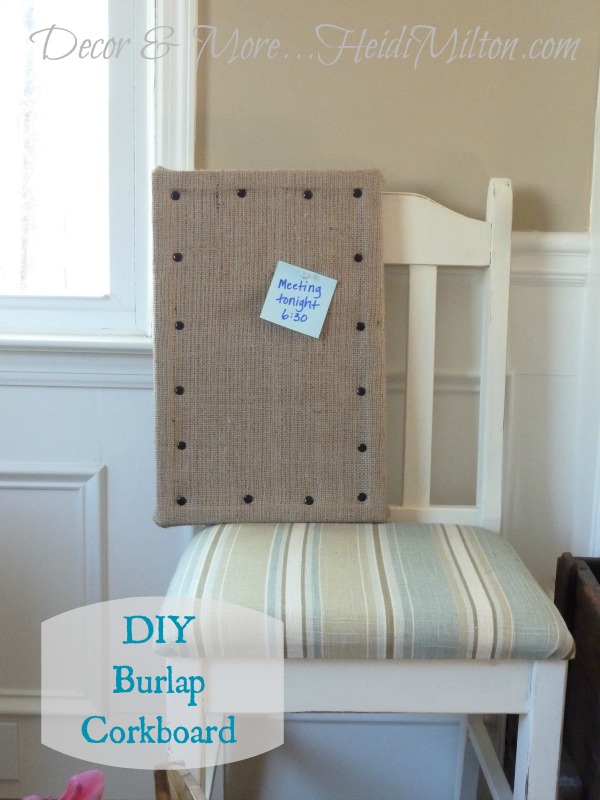
It should look like this on the front when you’re finished.
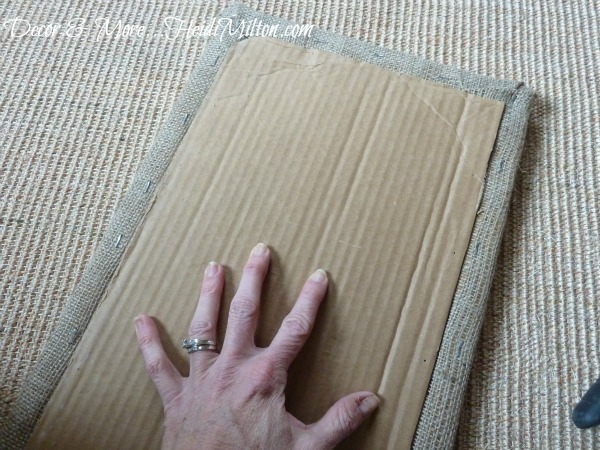
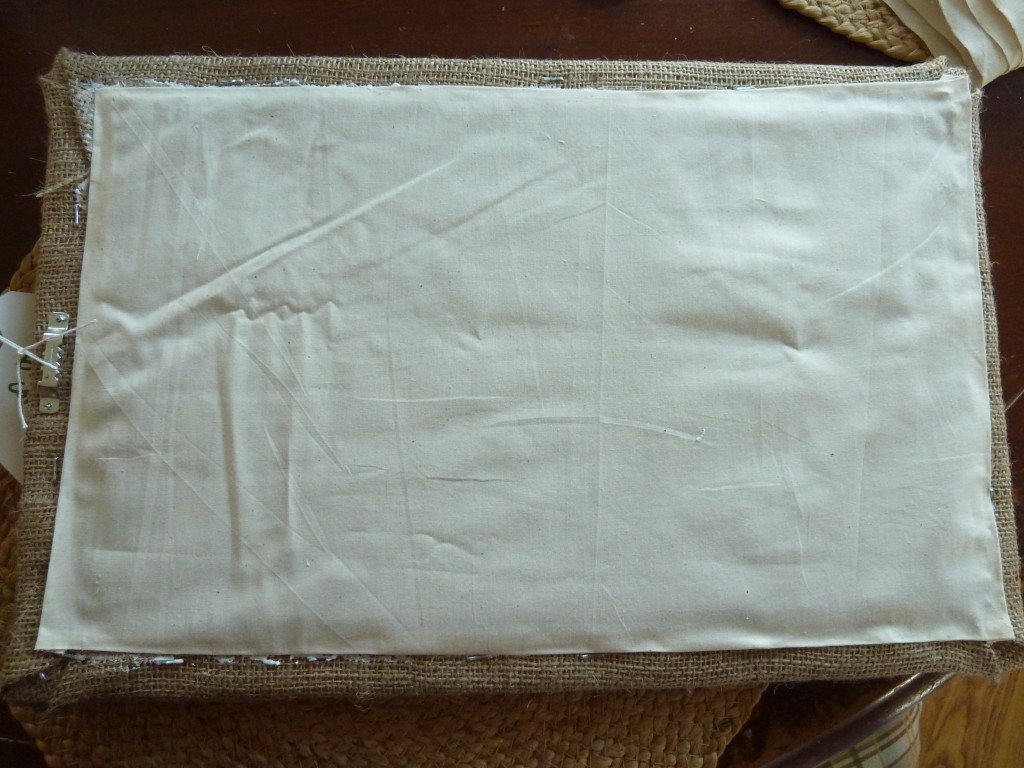
4. Now finish off the back to hide the edges of the fabric and the staples. I started with a piece of cardboard cut to fit inside the back of the frame.
I used hot glue to secure it. But I wasn’t thrilled with the staples on the back, so I cut a piece of muslin, ironed the edges down, and used tacky glue to attach it to the back.
A little better, no? I also nailed on a sawtooth hanger, since the other hangers will be covered by the burlap.
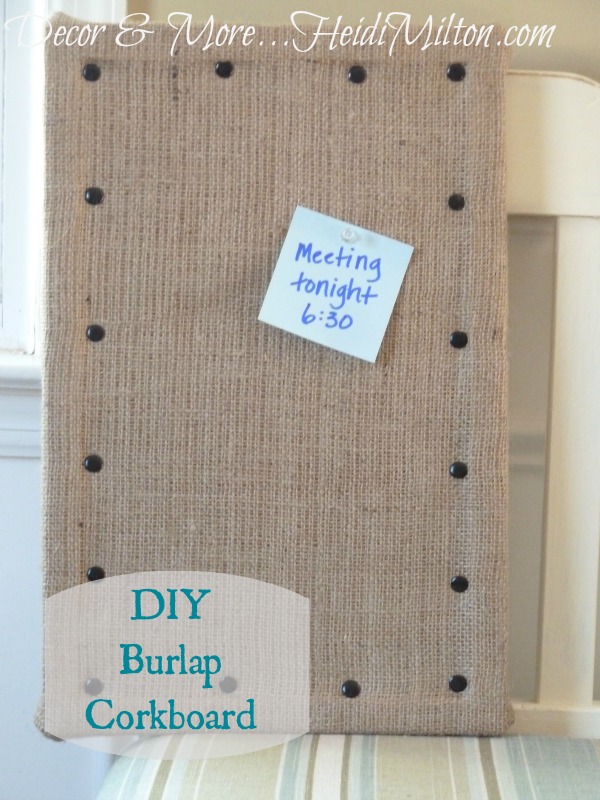
And voila!
I love the size of this one, but I have some super big corkboards in my basement left behind by one of our college kids, so I think I’ll try an oversized one, too.
I still have a couple of February DIYs to share and have decided to continue my No Spend commitment for a bit longer. I still have PLENTY of projects waiting in the wings!
TGIF, friends and come back Monday for a giveaway!!
Sharing at Jaime’s… and Kim’s!
and Traci’s 🙂


happy birthday to you and your blog!
Happy Birthday to you!!!!!!!!!!!
Happy happy birthday, and glad you didn’t burn up on re-entry.
Bliss
Happy Happy Birthday!!! Love that message board, too. 🙂
Oh Happy belated birthday!! So sorry I’m late!! But your corkboard is mega adorable. 🙂
I love this! I was just browsing the internet for different styles of burlap-covered cork boards and found this. I need a LONG one, though. It is going to run down my hallway and I’m going to put all those Christmas and birthday photos people send me because I don’t like them on the fridge, but I do like them. Do you think it will work just as well if the cork doesn’t have a frame? And any advice for putting multiple cork boards together under one long strip of burlap? I guess I could make multiple sections in case we have to move someday and it is a pain in the butt to move as one long strip. Hmmm… I’ll have to think over it…
I would say the cork definitely needs to be framed, in order to staple the burlap on and to give it stability, especially if you’re looking for a longer piece. I’ve done this on a much larger corkboard that had an inexpensive aluminum frame and it worked just as well. I think it would look awkward to try to put multiple corkboards together, because the frames are usually slightly raised, so it wouldn’t be smooth continuous surface. Good luck! I’d love to see pics if you try it out!
Thanks. I won’t be home until the end if September, but I will show you what I try!